
By Elizabeth Webb
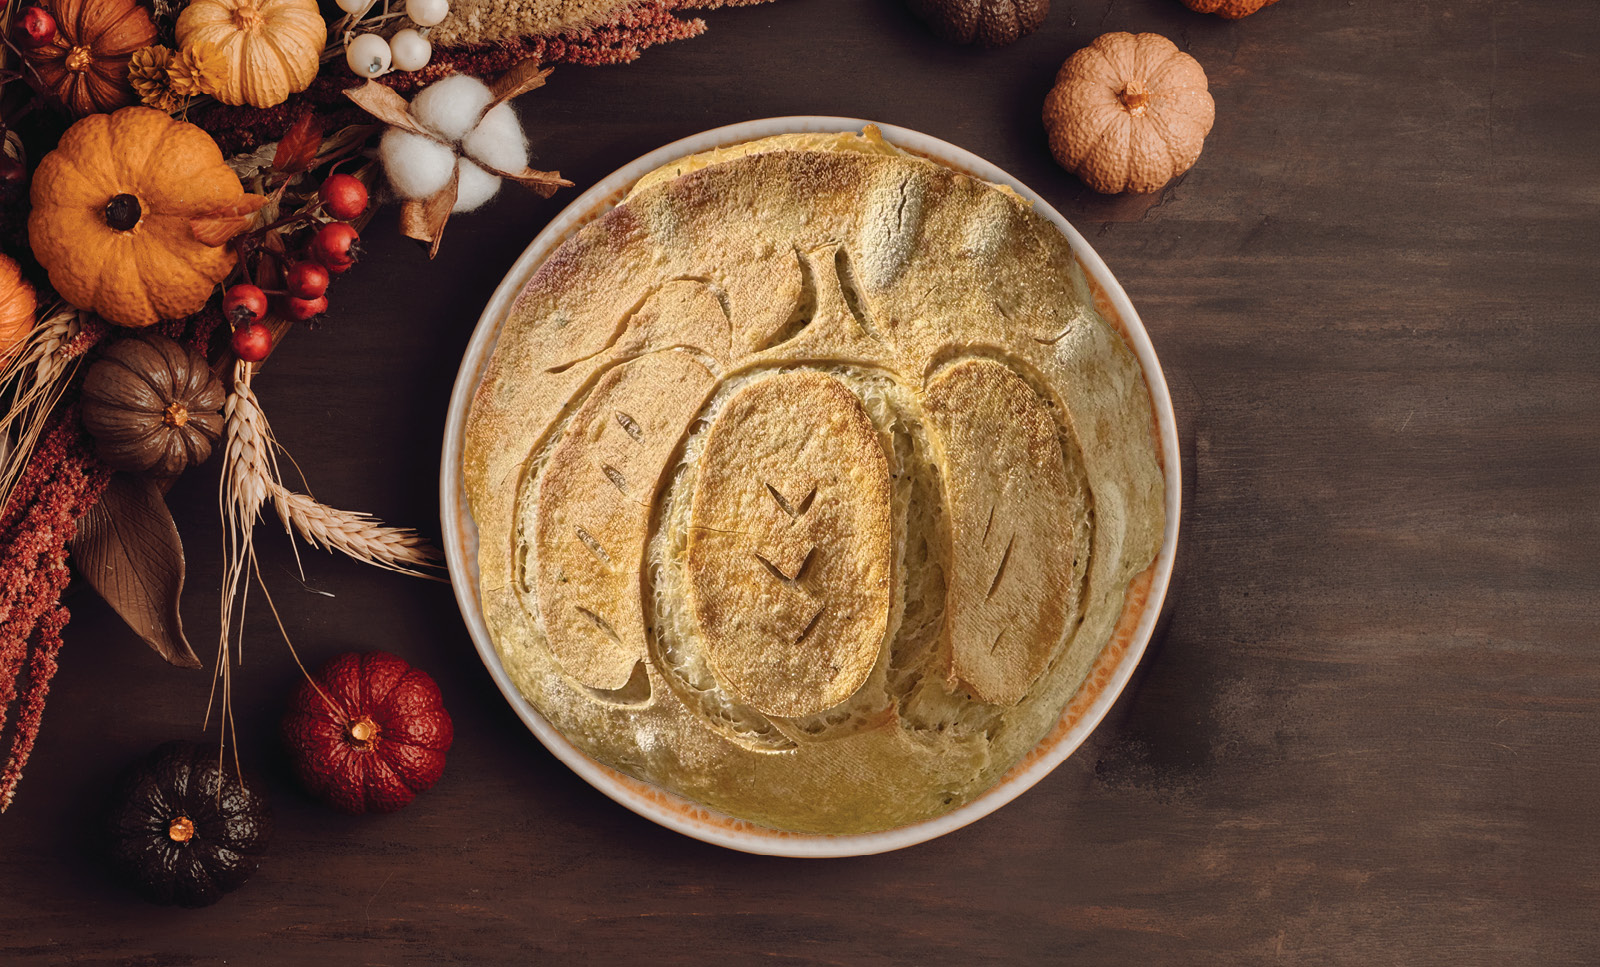
Few things bring me as much joy as the smell of freshly baked bread, especially sourdough. The crackling golden crust, soft, fluffy inside, beautiful designs scored into the loaf, and all the different flavors you can add make sourdough a favorite for many. It’s easy to understand why there has been such a sourdough craze over the last couple of years! However, one thing that keeps people from enjoying a delicious loaf is the process and all the supplies they think they need. While baking sourdough takes time and patience, you can make it affordable and fit it into a busy schedule without feeling intimidated by the process. With a healthy starter, Google, and a good step-by-step recipe, sourdough doesn’t have to be scary.
First things first: The starter.
A starter is simply fermented flour and water. It develops wild yeast and beneficial bacteria that help sourdough rise and give it its signature flavor. The fermentation process also makes sourdough easier for some people to digest and can result in a lower glycemic response than conventional bread.

There are several ways to get a starter: grow your own, buy a dehydrated starter, or purchase one that’s already active and ready to use. To make your own, mix equal parts flour and water in a jar and feed it daily. It usually takes about 7–10 days, sometimes longer, before it’s ready to bake with. You can also order dehydrated or active starters from various websites and Etsy shops, some of which offer starters passed down through generations. My favorite option, though, is getting one from a friend or family member. It makes it a little more meaningful! If growing your own isn’t going well, don’t give up. There’s nothing wrong with buying a reasonably priced starter and getting on with the fun part: baking!
One of the biggest misconceptions about sourdough is that you must feed your starter every single day. Feeding simply means removing a portion of your starter (called discard) and adding fresh flour and water. You can save the discard for recipes that don’t require a rise, like pancakes or granola bars. To maximize the starter’s efficiency, since I only bake on weekends, I feed mine Friday night and use it Saturday morning (see my weekend schedule below). After taking what I need for my recipe, I feed what’s left and put it back in the refrigerator until the following week. I prefer a stiffer starter, so I use a 1:3:2 ratio: one part starter, three parts all-purpose flour, and two parts water. This starter ratio calculator helps me figure out how much to feed mine based on the amount of active starter, or levain, my recipe calls for. I also like to transfer my starter to a clean jar with each feeding to keep it healthy.
The second myth: Sourdough requires a lot of expensive supplies.
Plenty of fancy tools are available, but most aren’t necessary. Instead of buying a banneton basket for cold-fermenting my loaves, I use a flour-dusted tea towel placed inside a medium-sized serving bowl from Dollar General. I don’t have a fancy starter jar with a thermometer; rather, I use regular canning jars and flats. The only specialty tools I consider must-haves are a stainless steel Danish dough whisk and a lame for scoring the top of the loaf.
The time commitment.
This one isn’t entirely a myth. Sourdough does take time, especially when you’re learning. It can take 18 hours or more from mixing to baking, but that doesn’t mean you’re working on it the entire time. The trick is learning to work it into your schedule. I’ve even taken my dough with me to church while volunteering because I was in the middle of stretch and folds! You might become known as the crazy sourdough lady, but that’s okay. Here’s my weekend baking schedule:
- Friday, 9 p.m.: Feed my starter using a 1:3:2 ratio.
- Saturday, 8 a.m.: Mix my dough. After 30 minutes, complete the first set of stretch and folds, followed by two more sets every 30 minutes.
- Saturday morning through evening: Cover the dough and let it sit on the counter to finish bulk fermentation.
- Saturday, around 8 p.m.: Shape the dough, place it in my flour-dusted tea towel and bowl, cover with plastic wrap, and refrigerate overnight.
- Sunday, 7:30 a.m.: Preheat the oven with my Dutch oven inside, following my recipe’s instructions, then bake!
There was plenty of trial and error when I first started, but you will build the confidence to make an amazing, healthier bread without spending a fortune. Start with the basics, find a recipe you trust, and learn as you go. Soon you’ll have your own routine, a starter tucked away in the refrigerator, and the smell of fresh sourdough filling your kitchen this holiday season. And trust me, nothing beats pulling that first beautiful, crusty loaf out of the oven and knowing you made it yourself!

ABOUT THE AUTHOR
Elizabeth Webb is a Registered Nurse turned high school English teacher who loves to encourage other women to embrace the path they’ve been called to. She enjoys spending time with her family, chasing her kids to sporting events, being outdoors, and anything creative. She lives on a farm in the Midwest with her husband, three children, and dogs.